

Manage your sensitive documents
Populate your workspace
You can populate your workspace by:
uploading folders and files from your computer
creating new files and folders directly in your workspace
importing files from one teamspace into another
Please note
In order to upload items into your workspace or create new ones, you must have enough storage space.
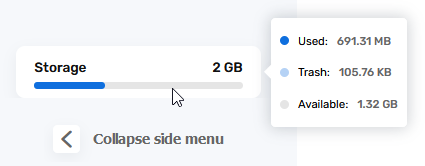
View available storage
You can view how much storage space your have available at the bottom of the navigation panel. You can see:
your total storage space
the storage space still remaining
the storage space used
the storage space used by items in the Trash
If you have reached your maximum storage capacity, contact your administrator to request more storage. You can also empty the Trash to free up space.
Upload folders and files
Depending of the type of teamspace as well as your access rights, you can upload files into a teamspace.
-
From the home page of your Work application, select the space to which you want to add documents.
-
If you want to add files to a specific folder, browse your folders and open the folder of your choice.
-
Import the items of your choice.

To import items from one of your spaces:
-
Click Import, then From my spaces.
-
Click on the space containing the items you want to import, then click Select.
-
Select the files you want to import and click Import.
To upload files from your computer:
-
Click Import, then Import files.
-
Browse the file explorer on your computer and select one or several files by holding down the Ctrl key, then click OK.
To upload a folder from your computer:
-
Click Import, then Import folder.
-
Browse the file explorer on your computer and select the folder of your choice, then click OK.
The selected items are added to your space.
-
If you prefer, you can also drag and drop files from your computer’s file explorer to the Documents section.
Tip
To import a local folder to your Oodrive Work workspace, download the EasyTransfer plugin from the Applications menu, which you can access by clicking on your profile.
Create new folders and files
Create a new folder
-
Go to the space of your choice.
-
If you want to create your folder at a specific location in your file manager, browse your workspace and go to the parent folder of your choice.
-
Click Create and select Create a folder .
-
In the window that appears, enter the name of your folder, then click Create.
Your new folder is now available in your workspace.
Create a new file
-
Go to the space of your choice.
-
If you want to create your file at a specific location in your file manager, browse your workspace and go to the parent folder of your choice.
-
Click Create and select Create a file.
-
Select the type of file you want to create: Word, Excel, or PowerPoint
-
In the window that appears, enter the name of your file, then click Create.
Your new file is now available in your workspace. You can edit it directly online to add content to it.
Manage and organize your files and folders
You can access your files at any time to consult, edit or reorganize them.
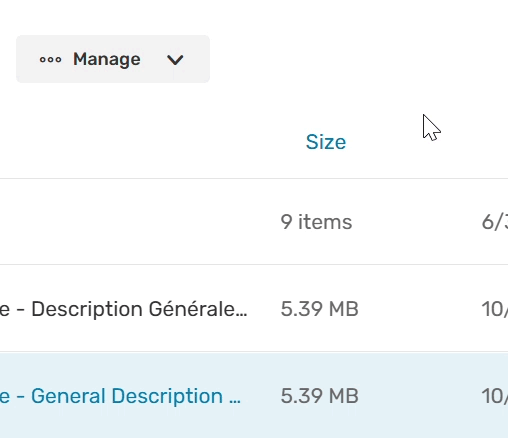
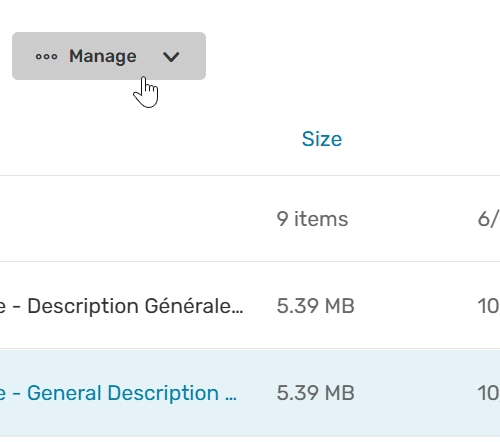
To do this, select an item, click Manage along the top of the page, then select the action to perform:
|
Action |
Result |
|---|---|
|
Consult |
Display a document in the viewer to consult it. When you're done, click the cross to close the viewer. |
|
Move |
Move a file or folder in your file manager. To do this, select its new location in your file manager, then click Move. If you wish, you can also create a new folder in your file manager to contain the moved item. |
|
Copy |
Create a copy of a folder or file. Please note: You cannot copy a folder to its original location or to one of its child folders. |
|
Rename |
Rename a file or folder. |
|
Lock |
Lock a file to protect it from changes. Locking files is useful in collaborative shares if you need to temporarily prevent your colleagues from making changes. The file will remain locked until you unlock it. |
|
Add to favorites |
You can remove an item from your favorites at any time by selecting it and clicking Manage > Remove from favorites. |
Edit documents
You can edit your files (documents, spreadsheets, slideshows) directly from your Oodrive Work application.
You can choose to edit a file on your computer via EasyTransfer, or to modify it in your browser with Office Online or Collabora Online.
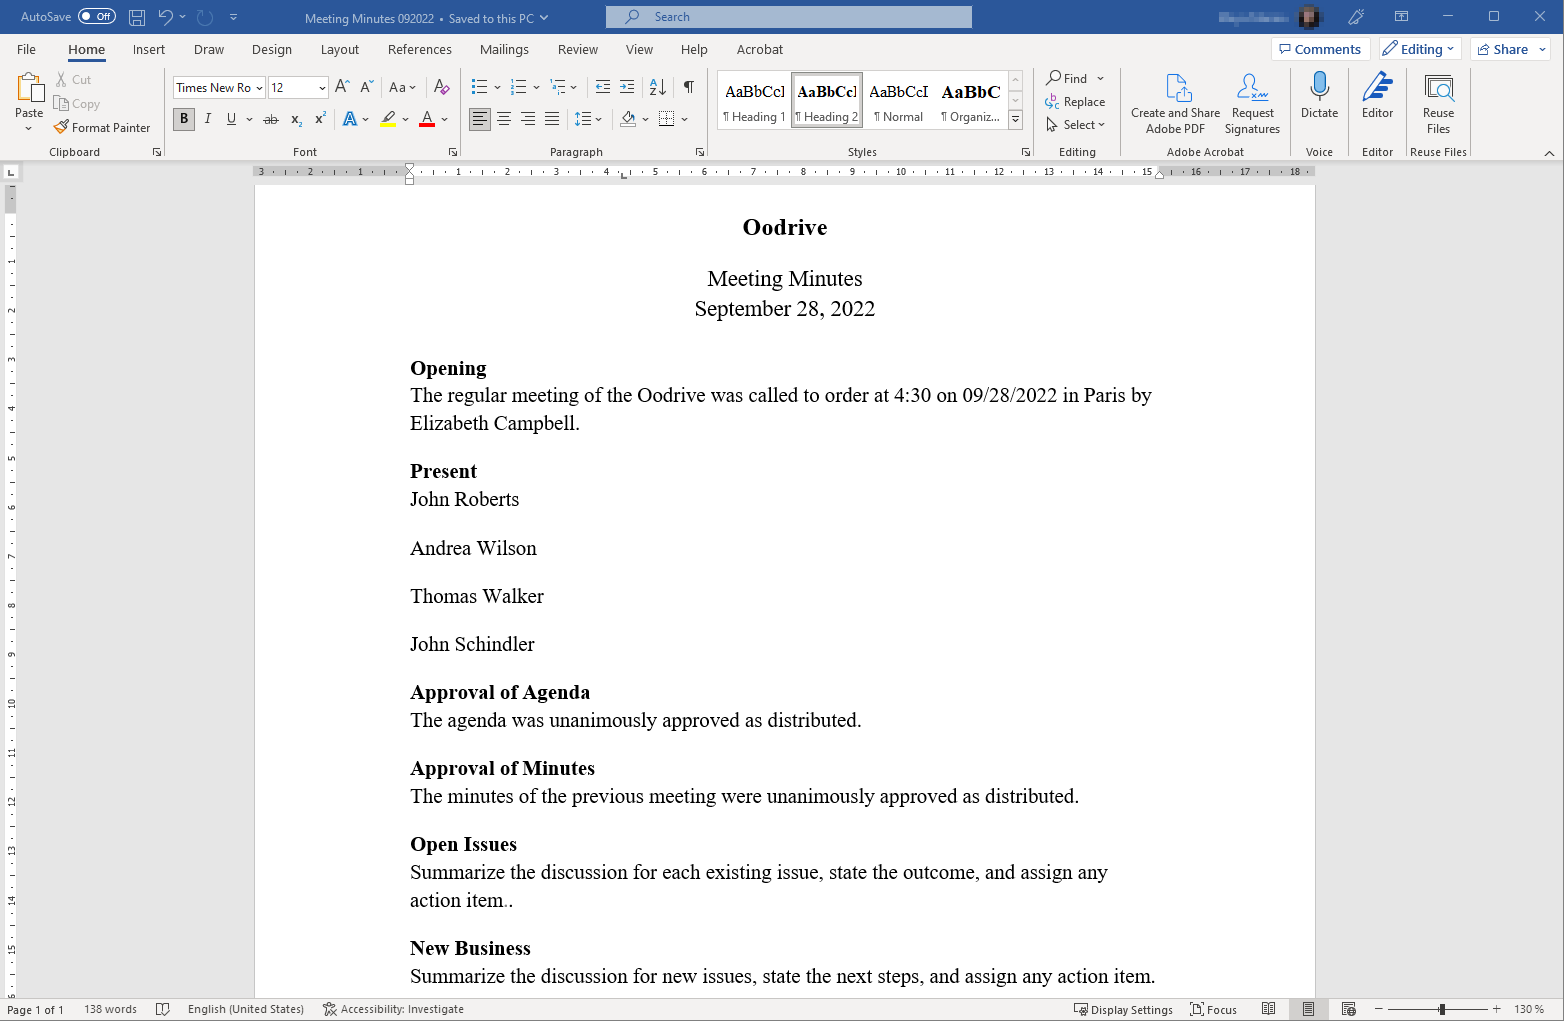
Edit a document with Microsoft Office
To edit a file from your computer with the Microsoft Office application, you need to ensure you have Easy Transfer, and that it is linked with your browser.
You can edit your own files as well as shared files for which you have editing rights.
When another user edits a document with Microsoft Office, it is temporarily locked.
Hover your mouse over the document to view the name of the person editing it.

-
From the home page of your Oodrive Work application, click on the space containing the document you want to edit.
-
Browse your file manager and select the file you want to edit.
-
Click Manage and select Edit, then Edit with Office.
The document opens in Office on your computer.
-
Make changes as desired.
-
When you have finished, click Save and close the file.
Edit a document with Office Online
Before you can edit a file with Office Online, you need to have an Office 365 account.
-
From the home page of your Oodrive Work application, click on the space containing the document you want to edit.
-
Browse your files and select the file you’d like to edit.
Please note
You can edit your own files as well as shared files for which you have editing rights.
-
Click Manage and select Edit, then Edit with Office Online.
The document opens in a new tab.
-
Log in to your Office 365 account.
-
Make changes as desired.
Your changes are saved automatically, as you make them.
-
Once you finish, close the tab.
Edit a file with Collabora Online
Collabora Online is a solution that allows you to edit your sensitive documents online in a secure, sovereign environment.
You can edit your own files as well as shared files for which you have editing rights.
-
From the home page of your Oodrive Work application, click on the space containing the document you want to edit.
-
In the navigation panel, click the Documents section.
-
Browse the file manager and select the file you want to edit.
-
Click Manage and select Edit, then Edit with Collabora.
The document opens in a new tab.
-
Make changes as desired.
-
When you have finished, click Save and close the file.
For more information about the Collabora Online office suite, please refer to the publisher website: Collabora Online Tutorials.
Edit a file with OnlyOffice
OnlyOffice allows you to edit your documents online.
-
From the home page of your Oodrive Work application, click on the space containing the document you want to edit.
-
Browse your files and select the file you’d like to edit.
Please note
You can edit your own files as well as shared files for which you have editing rights.
-
Click Manage and select Edit, then Edit with OnlyOffice.
The document opens in a new tab.
-
Make changes as desired.
Your changes are saved automatically, as you make them.
-
Once you finish, close the tab.
For more information about the OnlyOffice suite, please refer to the publisher website: ONLYOFFICE Docs.
Manage versions of a document
When you and your colleagues collaborate on files in your workspace by editing them in Office, Office Online or Collabora Online, Oodrive Work keeps track of the document history by versioning it.
In the event of an error or unwanted changes, you can therefore recover an earlier version of your document.
To manage versions of a document:
-
Browse your file manager and select the file for which you want to view the versions.
-
Click
 in the upper-right corner of the files list to open the information panel.
 -
Go to the Versions tab in the information panel.
You will see the history of the versions generated for your file, with the date and person responsible for the changes.

-
Click the three small dots to the right of a version to consult, download or delete it.
Please note
Only the owner of the document can delete a version. If you are a recipient of the document via collaborative sharing, you can only consult and download previous versions.
Annotate a document
By default, your annotations are visible only to you, and do not change the document itself. However, you can choose to make your annotations public so that you can share them with all collaborators who have access to the document in question.
This feature is particularly useful if you want to collaborate on a document for which you do not have editing permissions.
-
Browse your file manager and select the file you want to annotate.
-
Click Manage, then Consult to open the document viewer.
-
Click the
 annotation icon in the upper-right corner of the viewer.
 -
Use the toolbar above the document to annotate it.

Once added, annotations are saved automatically.
-
If you want to share an annotation with your collaborators, select it and enable the Public option.
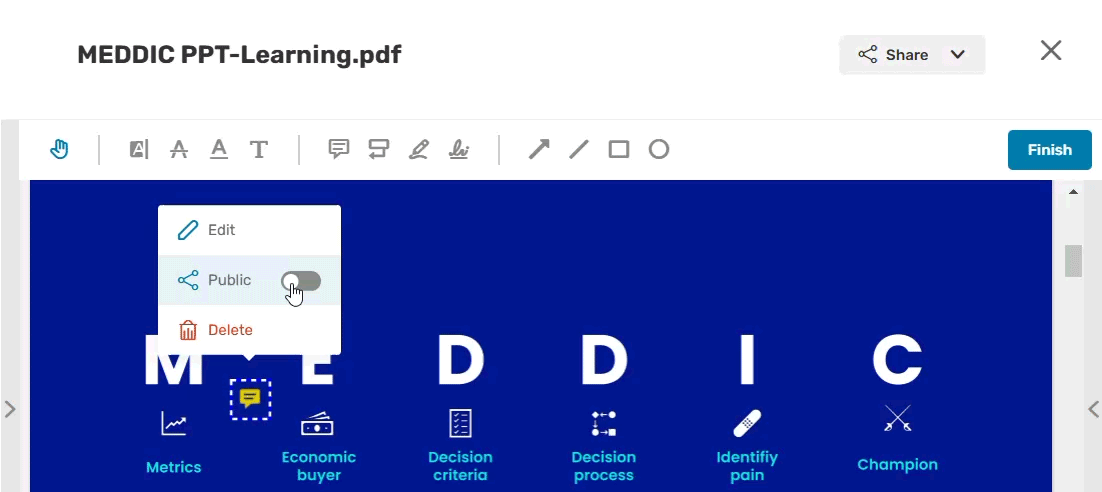
Once you have made it public, the annotation becomes visible to all collaborators with access to the document; however, only you can edit or delete it.
-
When you are finished, click Finish to close editing mode. Next, click the cross in the upper-left corner of the application to exit the document.
You can go back to the document viewer at any time to move, edit or delete an annotation, or to make it private/public.
To access the list of viewable formats on Oodrive Work, please refer to this document: Viewable data formats (PDF).
Write a memo
If this option is enabled for your workspace, you will be able to create memos for an item that belongs to you or has been made available to you via sharing.
Memos are particularly useful for:
Adding personal notes to your own folders and documents
Collaborating on a remote project without marking documents with annotations
Collaborating on a document for which you do not have editing permissions
Taking part in a digital approval process
Please note
The owner of each file is able to delete memos added by their collaborators.
-
Browse your file manager and select the file or folder to which you want to add a memo.
-
Click Manage and select Create a memo.
-
Fill in the title of your memo, then its content.
If you wish, you can tag a collaborator to draw their attention to your memo. To do so, click Tag a user and select a collaborator.
-
Once you have finished, click Submit.
If you have tagged a collaborator in your memo, they will receive an email notification to let them know.
Delete files and folders
The files and folders you delete from your file explorer are automatically moved to your Trash. Without any action on your part, they will be kept in the Trash for a period defined by your administrator (between 1 day and 3 years), and will be permanently deleted at the end of this period.
You can choose at any time to take action on the items in the Trash, such as restoring them or permanently deleting them.
Delete a file or folder
-
Browse your file manager and select the file or folder you want to delete
-
Click the Manage button in the bar along the top of the page and select Delete.
-
In the window that appears, click Delete to confirm the deletion of the item.
Your file or folder is now in your Trash.
Manage the Trash
Go to the Trash to restore or permanently delete an item.
To quickly find the item you are looking for, you can click the column headings to sort the contents of the Trash by the following attributes:
Name
Size
Deletion date
Person who deleted the item
Please note
Only Owners may permanently delete files from a teamspace's Trash.
Restore an item from the Trash
-
In the navigation panel, click the Trash section, then select the item(s) you want to restore.
-
Click Restore to restore the selected item(s).
You can now find the restored items in their last location before they were deleted.
Tip
You can click Restore all to restore all items in your Trash.
Permanently delete files from the Trash
-
In the navigation panel, click the Trash section, then select the item(s) you want to permanently delete.
-
Click Permanently delete to permanently delete the selected item(s).
The selected item(s) are now permanently deleted.
Tip
You can click Empty trash to permanently delete all items in your Trash.
Resources