 Help Center
 Go to Oodrive
Installing and configuring PostFiles Outlook manually
Install PostFiles Outlook
To install the PostFiles Outlook plugin, download its executable file from the Oodrive Work_share or Oodrive Work web application. Escalated “Administrator” permissions may be required for installation.
Please note that you can run a silent installation to avoid manual intervention on each user's computer
Download and install PostFiles Outlook
-
Go to your collaborative application.
-
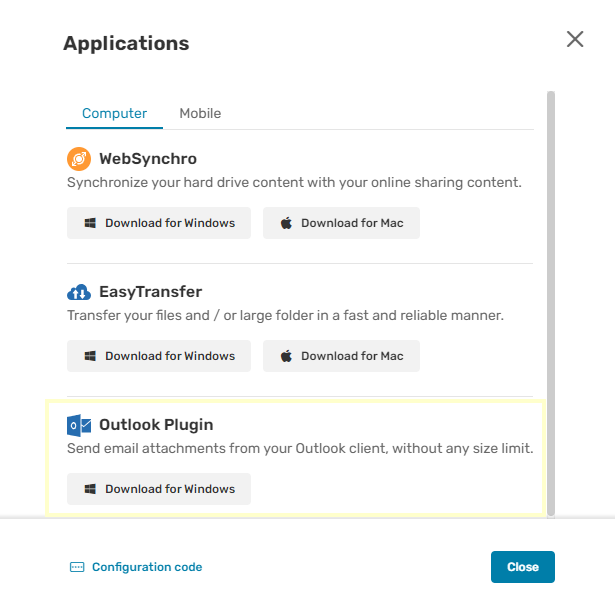
Click your profile in the upper-right corner of the screen and select Applications.
-
Go to the Outlook Plugin section, then download the application for Windows.
-
In the window that appears, copy the Configuration code to fill in during installation.
-
Go to your Downloads folder and double-click the PostFiles Outlook-xxx.exe installer.
-
Follow the steps in the installation wizard.
-
Once the application has been installed, ask the user to log in using their login and password.
Log in to PostFiles Outlook
With your Oodrive login credentials
-
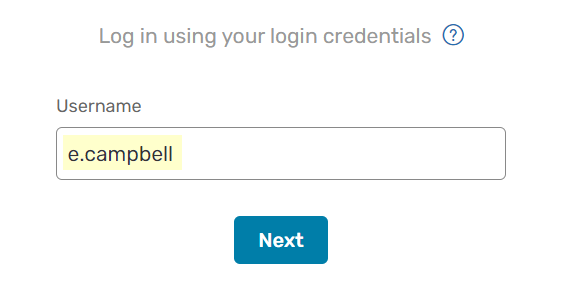
Enter your username and click Next.
Please note
If the Oodrive login field is not displayed, click Log in using your login credentials.
-
Enter your password.
-
Click Log in.
With your company login credentials
-
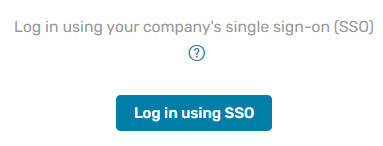
Click Log in using SSO.
-
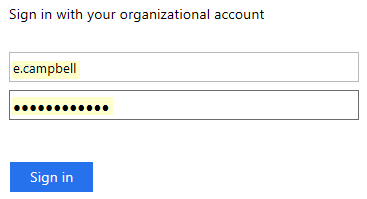
Enter your login credentials.
-
Click Sign in.
If you can’t remember your password, click Forgot your password?
Configure PostFiles Outlook
Users can configure and manage PostFiles Outlook manually on their computer. To do this, they need to go to the PostFiles tab of their Outlook client and select Settings.
From the plugin settings, users can:
-
Configure and manage connection via proxy
-
Configure plugin activation settings
-
Manage sharing options
-
Set a default synchronization folder for shared attachments
-
Access help
-
Export logs
-
Check and update the plugin
Configure and manage connection via proxy
Configure a proxy
If a specific proxy server is set up for the company, users must configure it in the application.
-
Go to the Outlook desktop application.
-
Select the PostFiles tab, then click Settings.
-
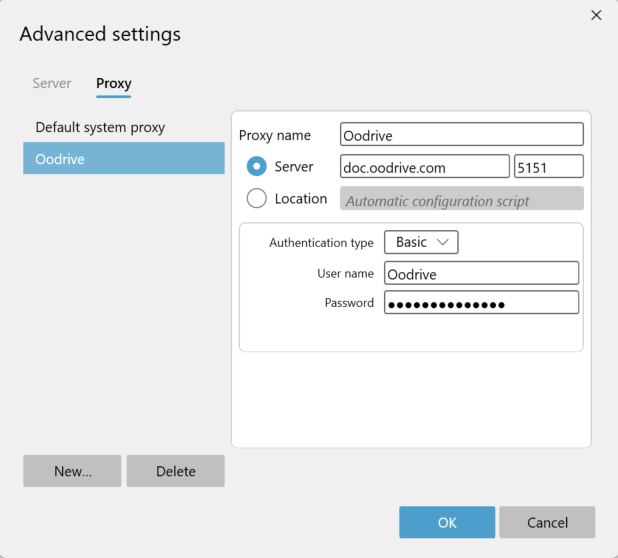
In the My Account tab, click the Advanced settings button and go to the Proxy tab.
-
Click New… and enter the proxy information for the company.
-
Once you have entered the information, click OK to save the settings and initiate connection.
Connection via proxy
Users can connect via the system's default proxy or via a pre-configured proxy.
To connect to a pre-configured proxy:
-
Go to the Outlook desktop application.
-
Select the PostFiles tab, then click Settings.
-
In the Connection through proxy section of the Settings tab, select Use the following proxy to connect to the internet to bring up the proxy management window.
-
Select a pre-configured proxy then click OK to initiate connection.
General settings
Plugin configuration
Users can configure the PostFiles Outlook plugin according to their preferences. To do so, they need to access the PostFiles tab of their Outlook client and select Settings.
In the Plugin configuration section of the Settings tab, users can:
-
Set the file size above which the plugin should send attachments
-
Choose whether to display sharing options for each email
-
Automatically enable the plugin for new emails
-
Go to the Outlook desktop application.
-
Select the PostFiles tab, then click Settings.
-
Go to the Plugin configuration section of the Settings tab to configure the plugin according to your preferences. You can configure the following options:
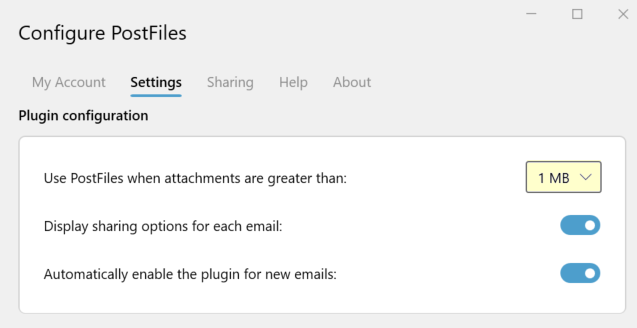
Use PostFiles when attachments are greater than:
From the drop-down menu, select the file size above which you want to use PostFiles Outlook to share your files (1, 5, 10 or 20 MB). You can also choose to use PostFiles Outlook regardless of file size by selecting Always from the drop-down menu.
Display sharing options for each email:
When this option is enabled, a window appears just before sending your email, allowing you to set the following sharing options:
-
End of sharing date
-
Max download limit
-
Language to use for the email in question
-
Set password to access shared files
-
Frequency of activity summary
Once the sharing options have been set and approved, the email will be sent to the recipient(s).
Automatically enable the plugin for new emails:
When this option is enabled, the PostFiles Outlook plugin is activated by default for new emails and will manage all attachments until you disable it.
-
-
Once you've finished, close the window.
View AIP labels
Azure Information Protection (AIP) is a Microsoft security service integrated into the Office suite, enabling its users to set sensitivity levels for documents by applying a label.
If "AIP for PostFiles Outlook" is enabled for your Workspace, you can configure the labels that should trigger the sending of attachments via PostFiles Outlook.
Sensitive attachments stamped with any of these confidentiality label will automatically be sent by the PostFiles Outlook plugin, even if the attachment's size is smaller than the threshold you might have set in the plugin settings.
Users can view the AIP confidentiality labels that will trigger the sending of attachments via PostFiles Outlook in the plugin settings.
-
Go to the Outlook desktop application.
-
Select the PostFiles tab, then click Settings.
If you are not logged in, click Log in and log in to your workspace.
-
Go to the Settings tab.
In the Azure Information Protection section, you will now see which labels will trigger the sending of attachments via PostFiles Outlook:
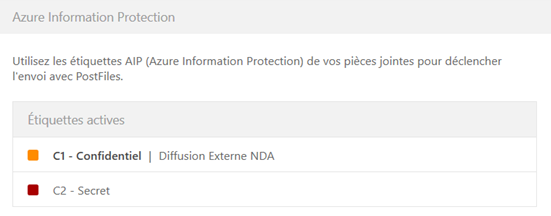
If you want to configure or modify the labels that should trigger the sending of attachments via PostFiles Outlook, go to the Sharing Administration module.
Configure sharing options
Users can configure sharing options from the application settings.
-
Go to the Outlook desktop application.
-
Select the PostFiles tab, then click Settings.
-
In the Sharing options section of the Sharing tab, you can:
-
modify the default sharing duration
-
modify download limit
-
select the language used in emails
-
set the frequency of activity summary
-
enable deletion of files at the end of the sharing
-
enable watermarking of shared files
Users can also configure the location of the default synchronization folder for shared attachments on their Oodrive Work_share or Oodrive Work account.
-
Ressources